In this post I wrote in detail our Japan 2015 itinerary, which includes the planning and information about every destinations. If you are looking for information to plan your own Japan trip, well, this post is for you! (if you need a reason to go, start reading here).
Timing
The original idea of this trip is to see the cherry blossom (sakura) in Japan during its blooming time. The actual sakura blossom timings vary but generally it is at the start of Spring, which translates to late March – early April timeframe. Make sure you check last year’s timings before you go.

In Singapore, Good Friday holiday happened to be on 3rd April 2015, so we decided to base our trip around that date. We wanted to get 10 days trip, so we took 5 days leave from our work (5 working day + 1 public holiday + 2 Saturdays + 2 Sundays = 10). So our trip was decided to be from 27 March – 5 April 2015.
In general taking 5 days off work will give you 9 days holiday, because you have two weekends before and after that period. (isn’t that too obvious)
Flights
United and Delta both operates Singapore – Tokyo route. Most of them are actually the first half of a flight to US with a stopover in Tokyo. Singapore Airlines has a lot of connections to Japan too and they often offer promotions. Japanese airlines such as JAL and ANA generally have steeper price, unless they offer their own promotion as well. For this trip we got a promo price from Delta – S$666 (that number though) for return trip to Tokyo (Narita). You can consider flight to Osaka (Kansai) too if it is cheaper. Budget airlines such as Scoot might have much cheaper price, however usually they need a stopover somewhere which ultimately made the flight longer (therefore wasting your precious 10 days).
Budget
We agreed on an initial estimate like this:
- Flight: up to S$700 round trip from Singapore
- Hotel: up to S$80/person/night – translates to S$800 for 10 days
- Daily expense: (including local transport) up to S$100/day – so about S$1,000 for 10 days
- National JR Pass: around S$350 after conversion
- Shopping allowance: up to you 😛
You could definitely adjust the hotel and the daily expense as per your own convenience. Also you might not need the JR Pass if you are not planning to do cross-country trip.
The Big Route Planning
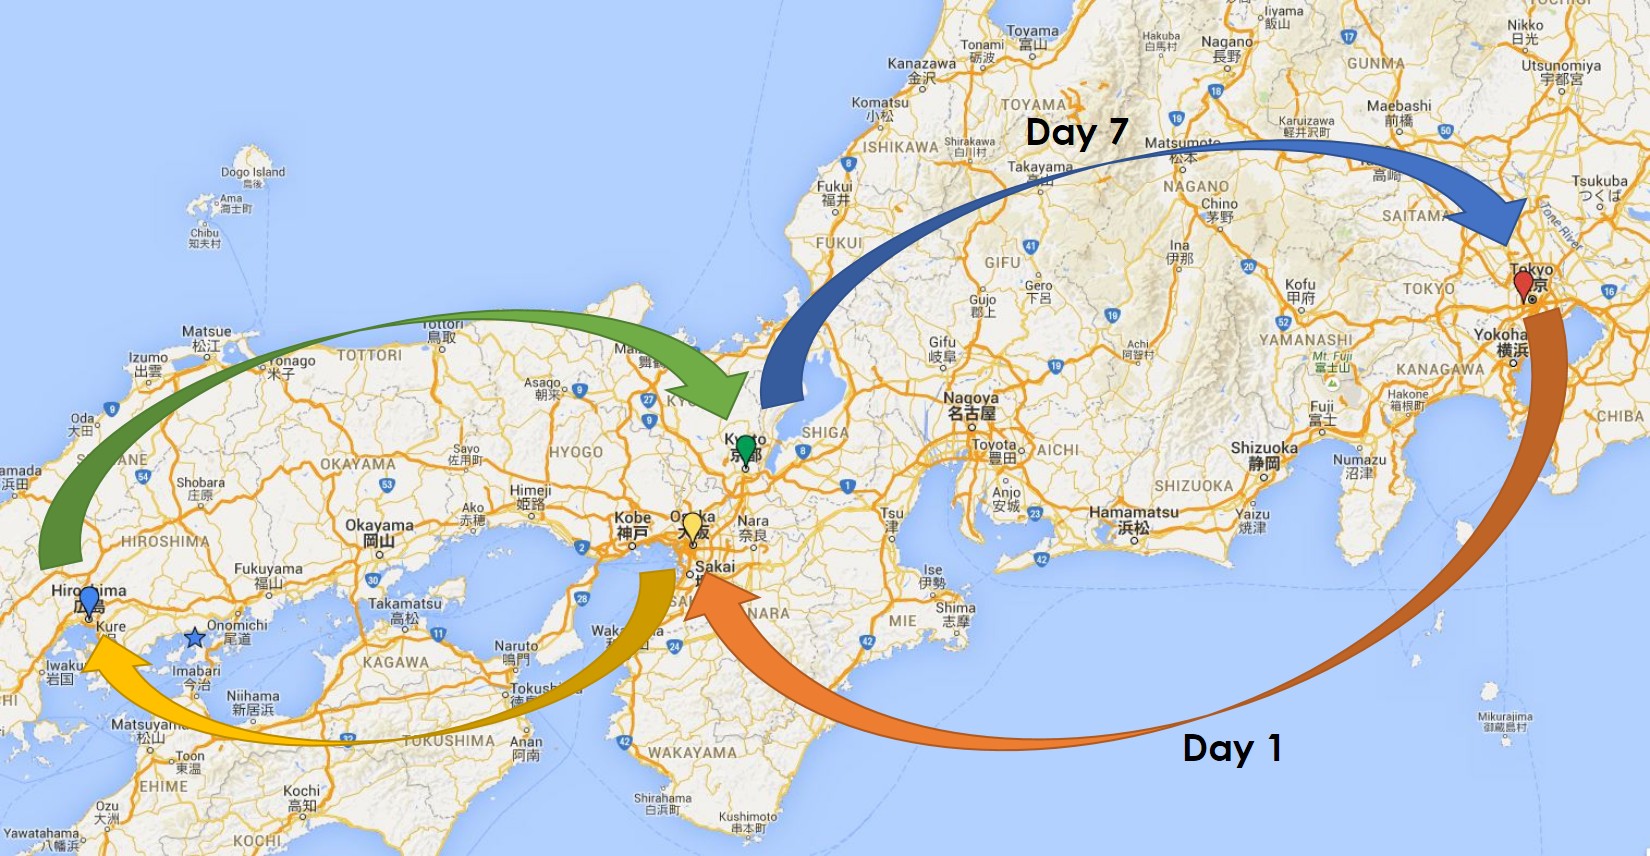
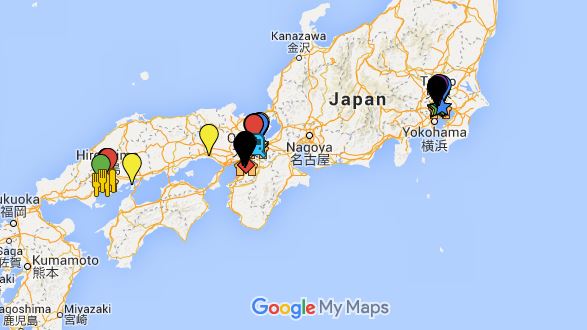
I have been to Sapporo and Tokyo before, but for my 2 friends it’s their first time. So we decided to explore mainstream Japan destinations (Tokyo, Kyoto, Osaka). On top of that, I wanted to go to the Rabbit Island (Okunoshima). So let’s see how it spans on the map:
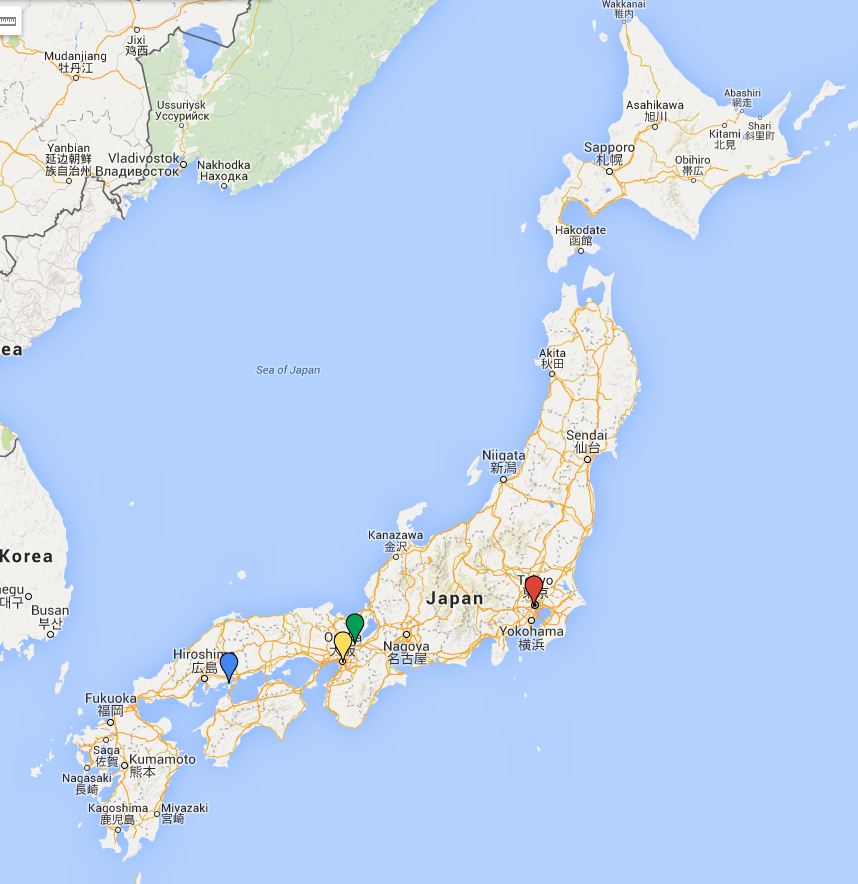
Our flights (in and out) would be from Tokyo, so the route has to start from Tokyo and ends in Tokyo as well. So it will be a westward journey up to Okunoshima, and then retrace back eastwards to Tokyo. Since Okunoshima was not a main city covered by shinkansen, Hiroshima was then added as a new destination, which serves as our base camp to Okunoshima. Finally, the S$350 JR Pass will give you unlimited shinkansen trips for 7 consecutive days only. That means, our plan would be to immediately start using the pass for the first 7 days, and then spend the last 3 days in Tokyo without JR Pass. The general itinerary then looks like this:
Inter-city Connections
Those two links will greatly help you to plan your train connections. Hyperdia can be used for ANY modes of transport – you can even consult local trains, not only shinkansens. If you’re curious about all the trains that we took, click here (see ‘Trains’ tab). I had finalized this table a week before our trip, thanks to the Japanese efficiency!
Remember that your JR Pass will only allow you to take Hikari, Sakura, and Kodama trains (labelled H, S, and K in the timetable). Nozomi and Mizuho trains (N and M) are off limits.
Hotels
Osaka
Hotel Elsereine (Japanican link)
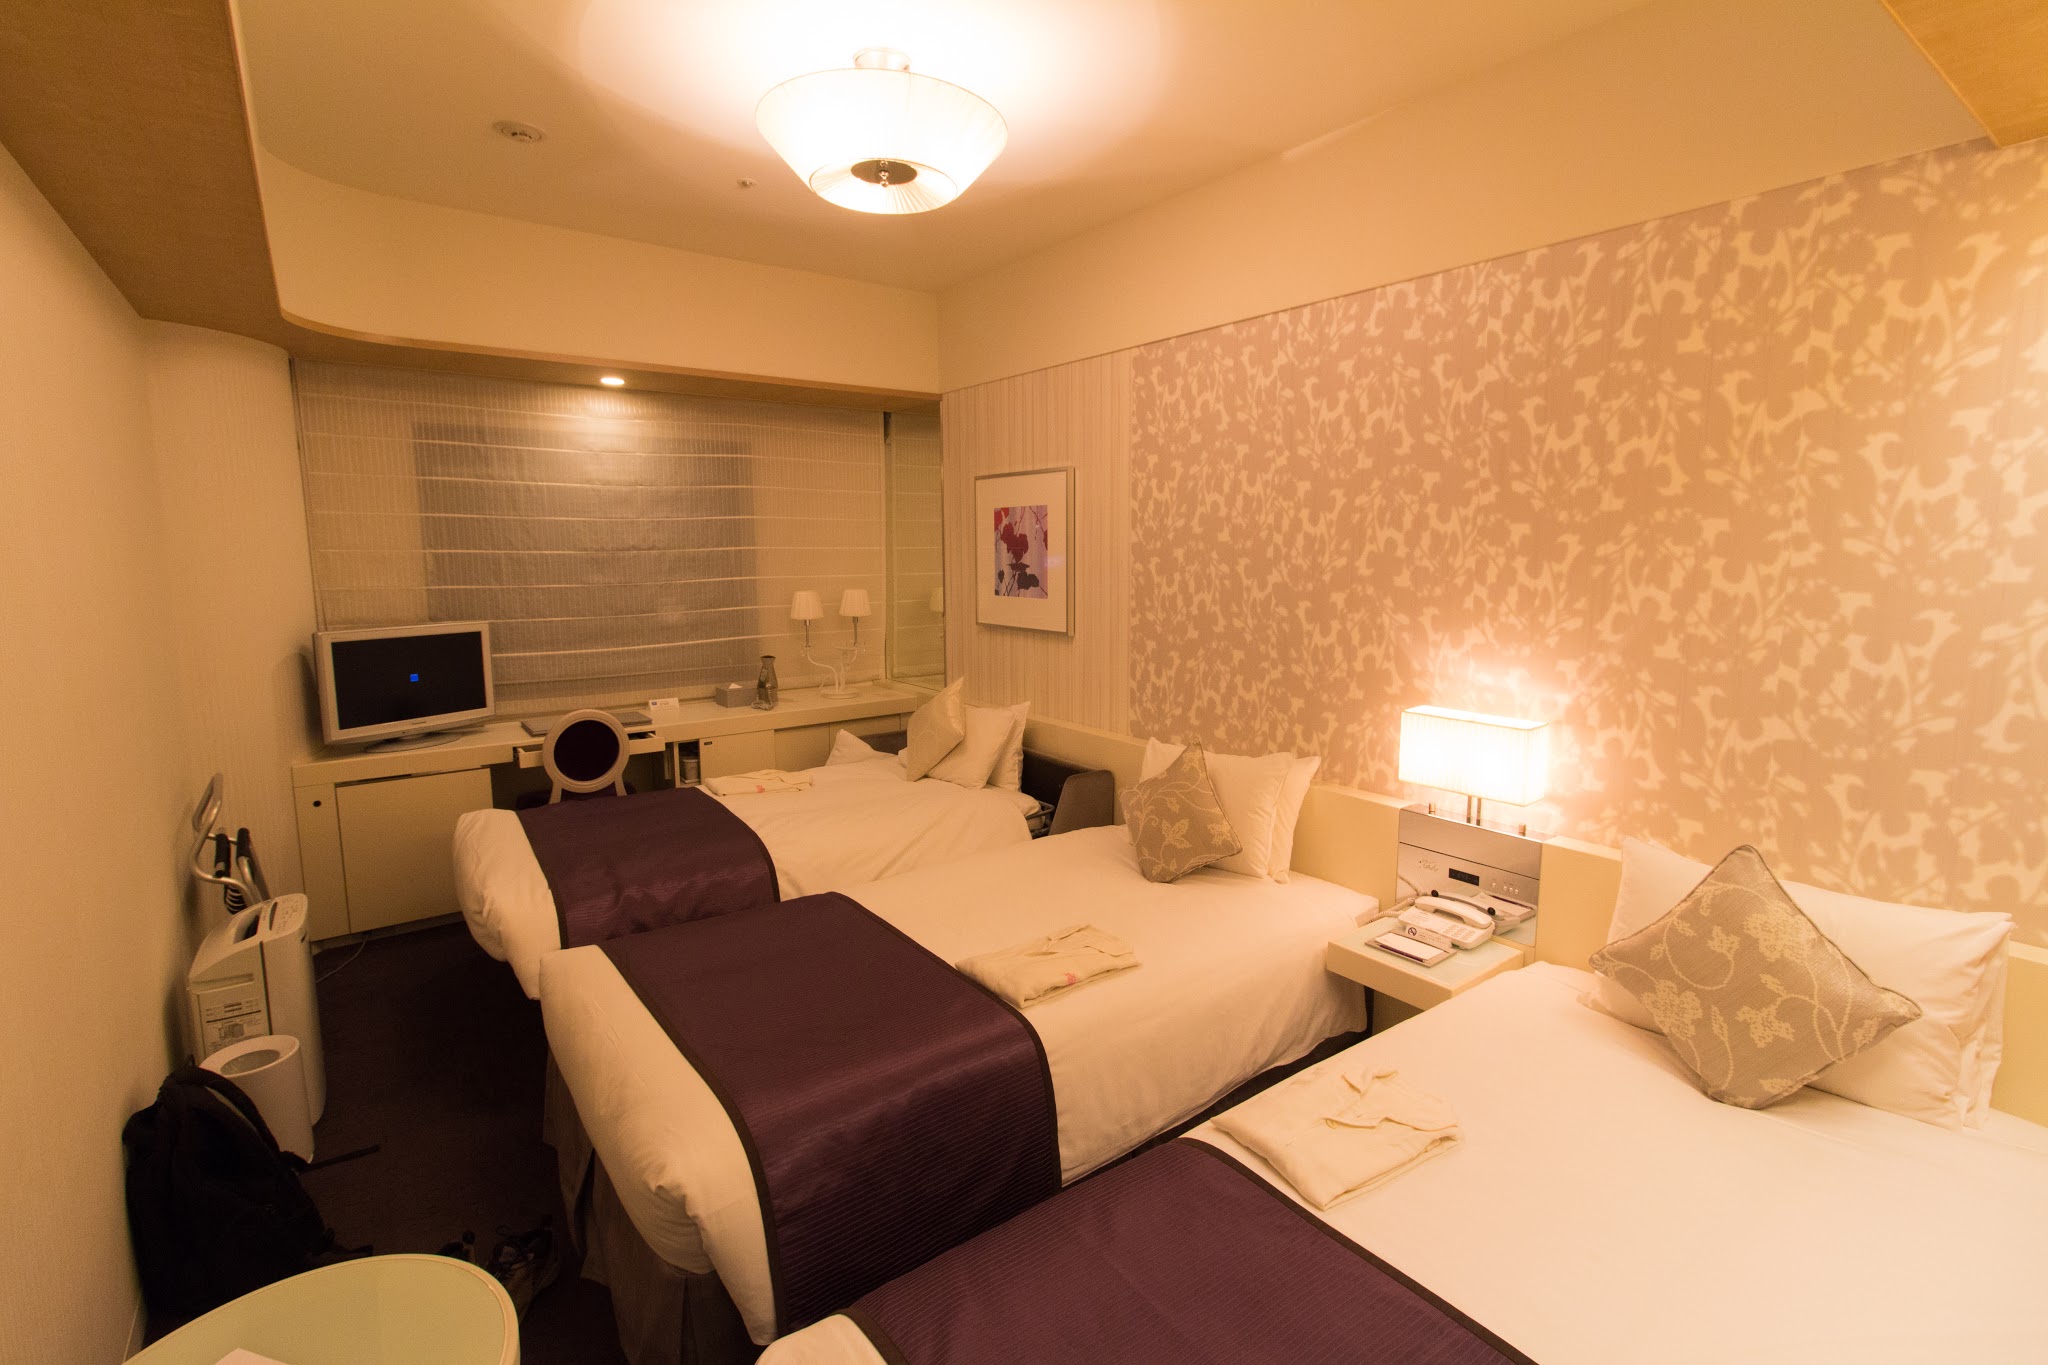
Reason for choosing: Cheap, western-style hotel, located close to JR Osaka station, which allows easier access to Shin-Osaka or Namba (for Koyasan). A few train stops away from Namba area.
Access: From Shin-Osaka to JR Osaka station: 4 mins train JR line. From JR Osaka Station: about 10 minutes on foot.
Koyasan
Fukuchi-in (Japanican link)
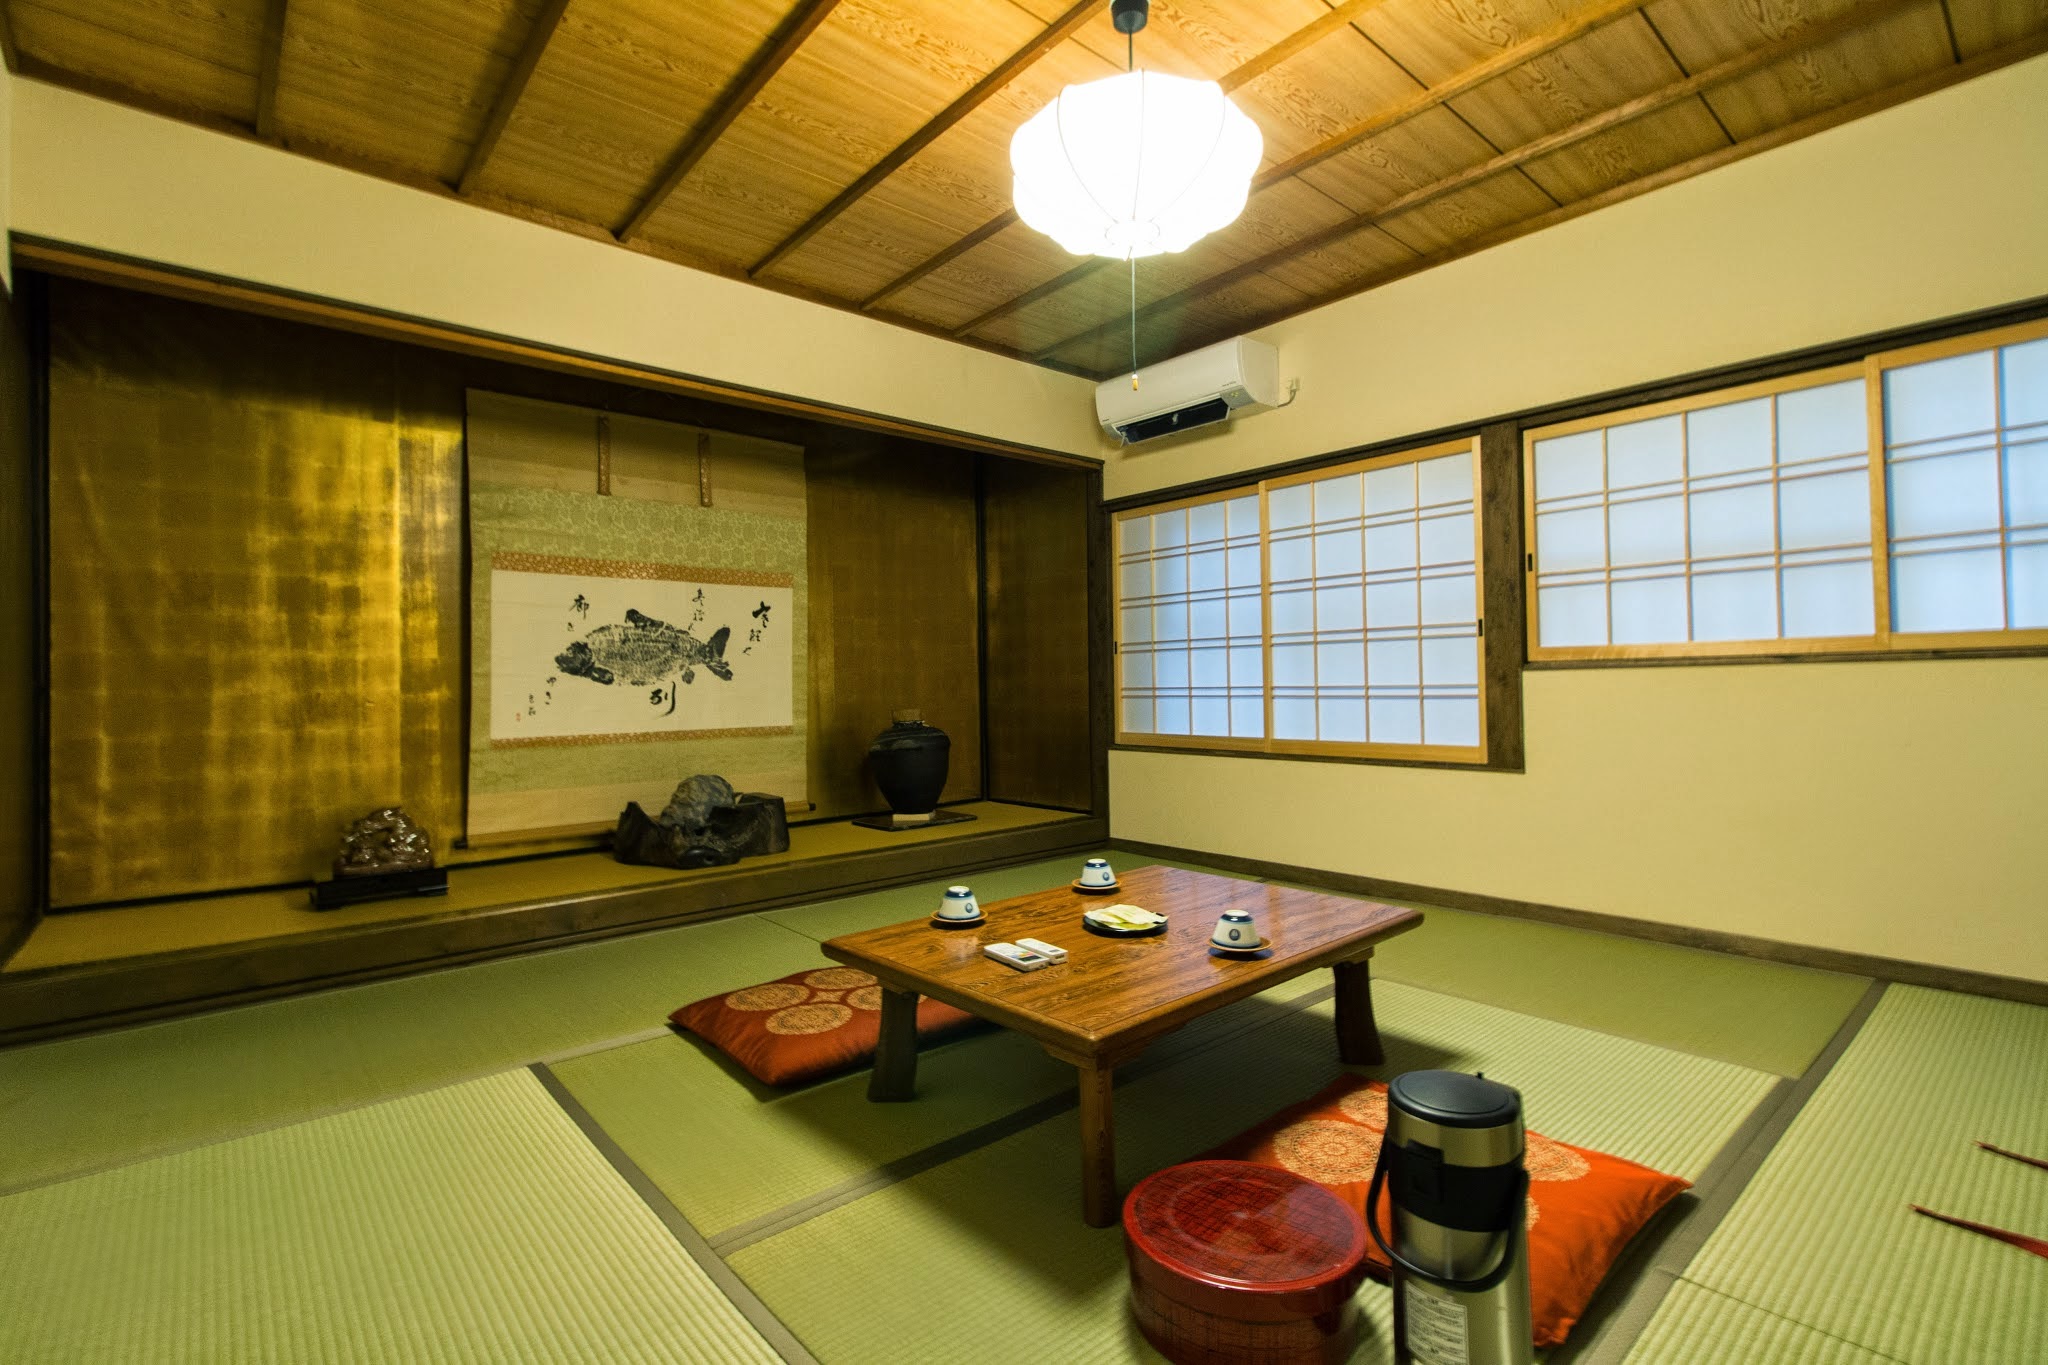
Reason for choosing: One of the biggest temple in Koya-san, we think the bigger/more famous it is, the more English-friendly it should be. Also, this temple is located straight in the middle of the village. This is the only temple in the village which has onsen, indoor and outdoor. It was expensive though.
Access: one bus stop before from Senjuin-bashi bus stop, if you are coming from Namba.
Hiroshima
Hiroshima Kokusai Hotel (Japanican link)
Reason for choosing: Super cheap and location is very strategic, near all the major attractions (Peace Park, Hondori Street, Hiroshima Castle, Shukkeien Garden, and Okunomimura).
Access: From JR Sanyo Line Hiroshima Station South Exit: 10 mins by Hiroshima Electric Railway train bound for Hiroden-Miyajimaguchi or Eba, alight at Tatemachi station. From Tatemachi Station: 3 mins on foot.
Kyoto
Kyoto Tower Hotel Annex (Japanican link)
(we don’t have photo of this hotel because this hotel is kind of too common LOL)
Reason for choosing: Closest to JR Kyoto Station, and cheap, simple western style hotel. It is not the same as Kyoto Tower Hotel which is directly below the Kyoto tower, but the Annex (a new building 2 blocks away).
Access: From JR Kyoto station, 3 mins on foot.
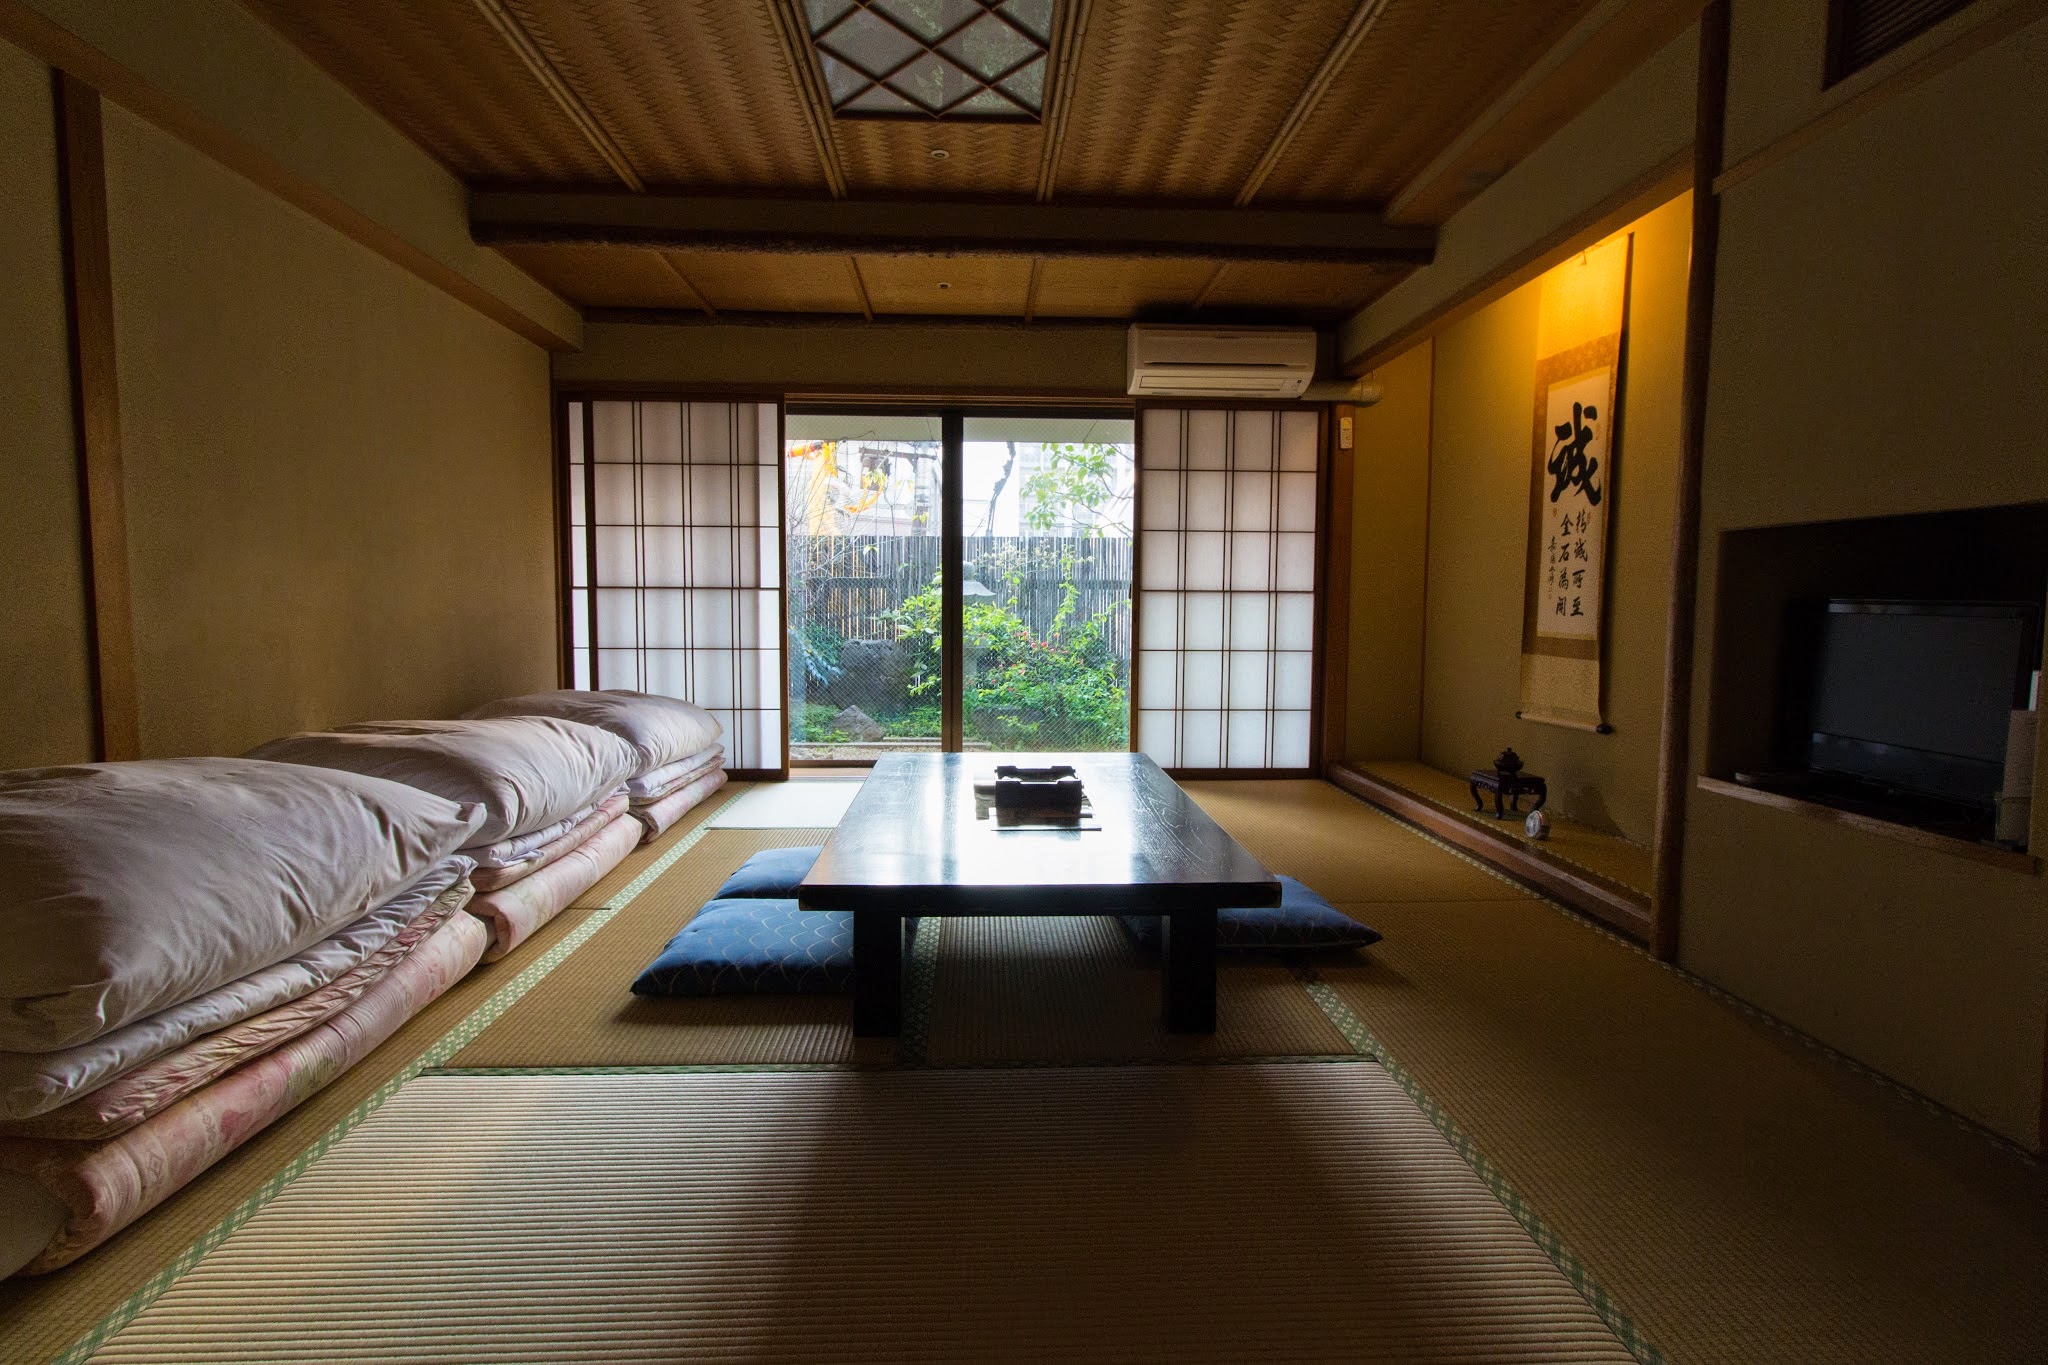
Hakone
Lodge Fujimien (Agoda link)
Reason for choosing: It looks decent, and the indoor onsen supposedly has Fuji-view (bad weather sadly T_T). All their rooms have Fuji-view as well! However this hotel’s location was quite far (2 bus stops from Togendai station), which made planning for route a little bit difficult. It might be easier to find a hotel near Hakone Yumoto or Moto-hakone.
Access: Nearest bus stop name is ‘Minami Onsen-so’. Bus that goes to Togendai will pass this stop. (It should be ‘T’ line if I remember correctly)
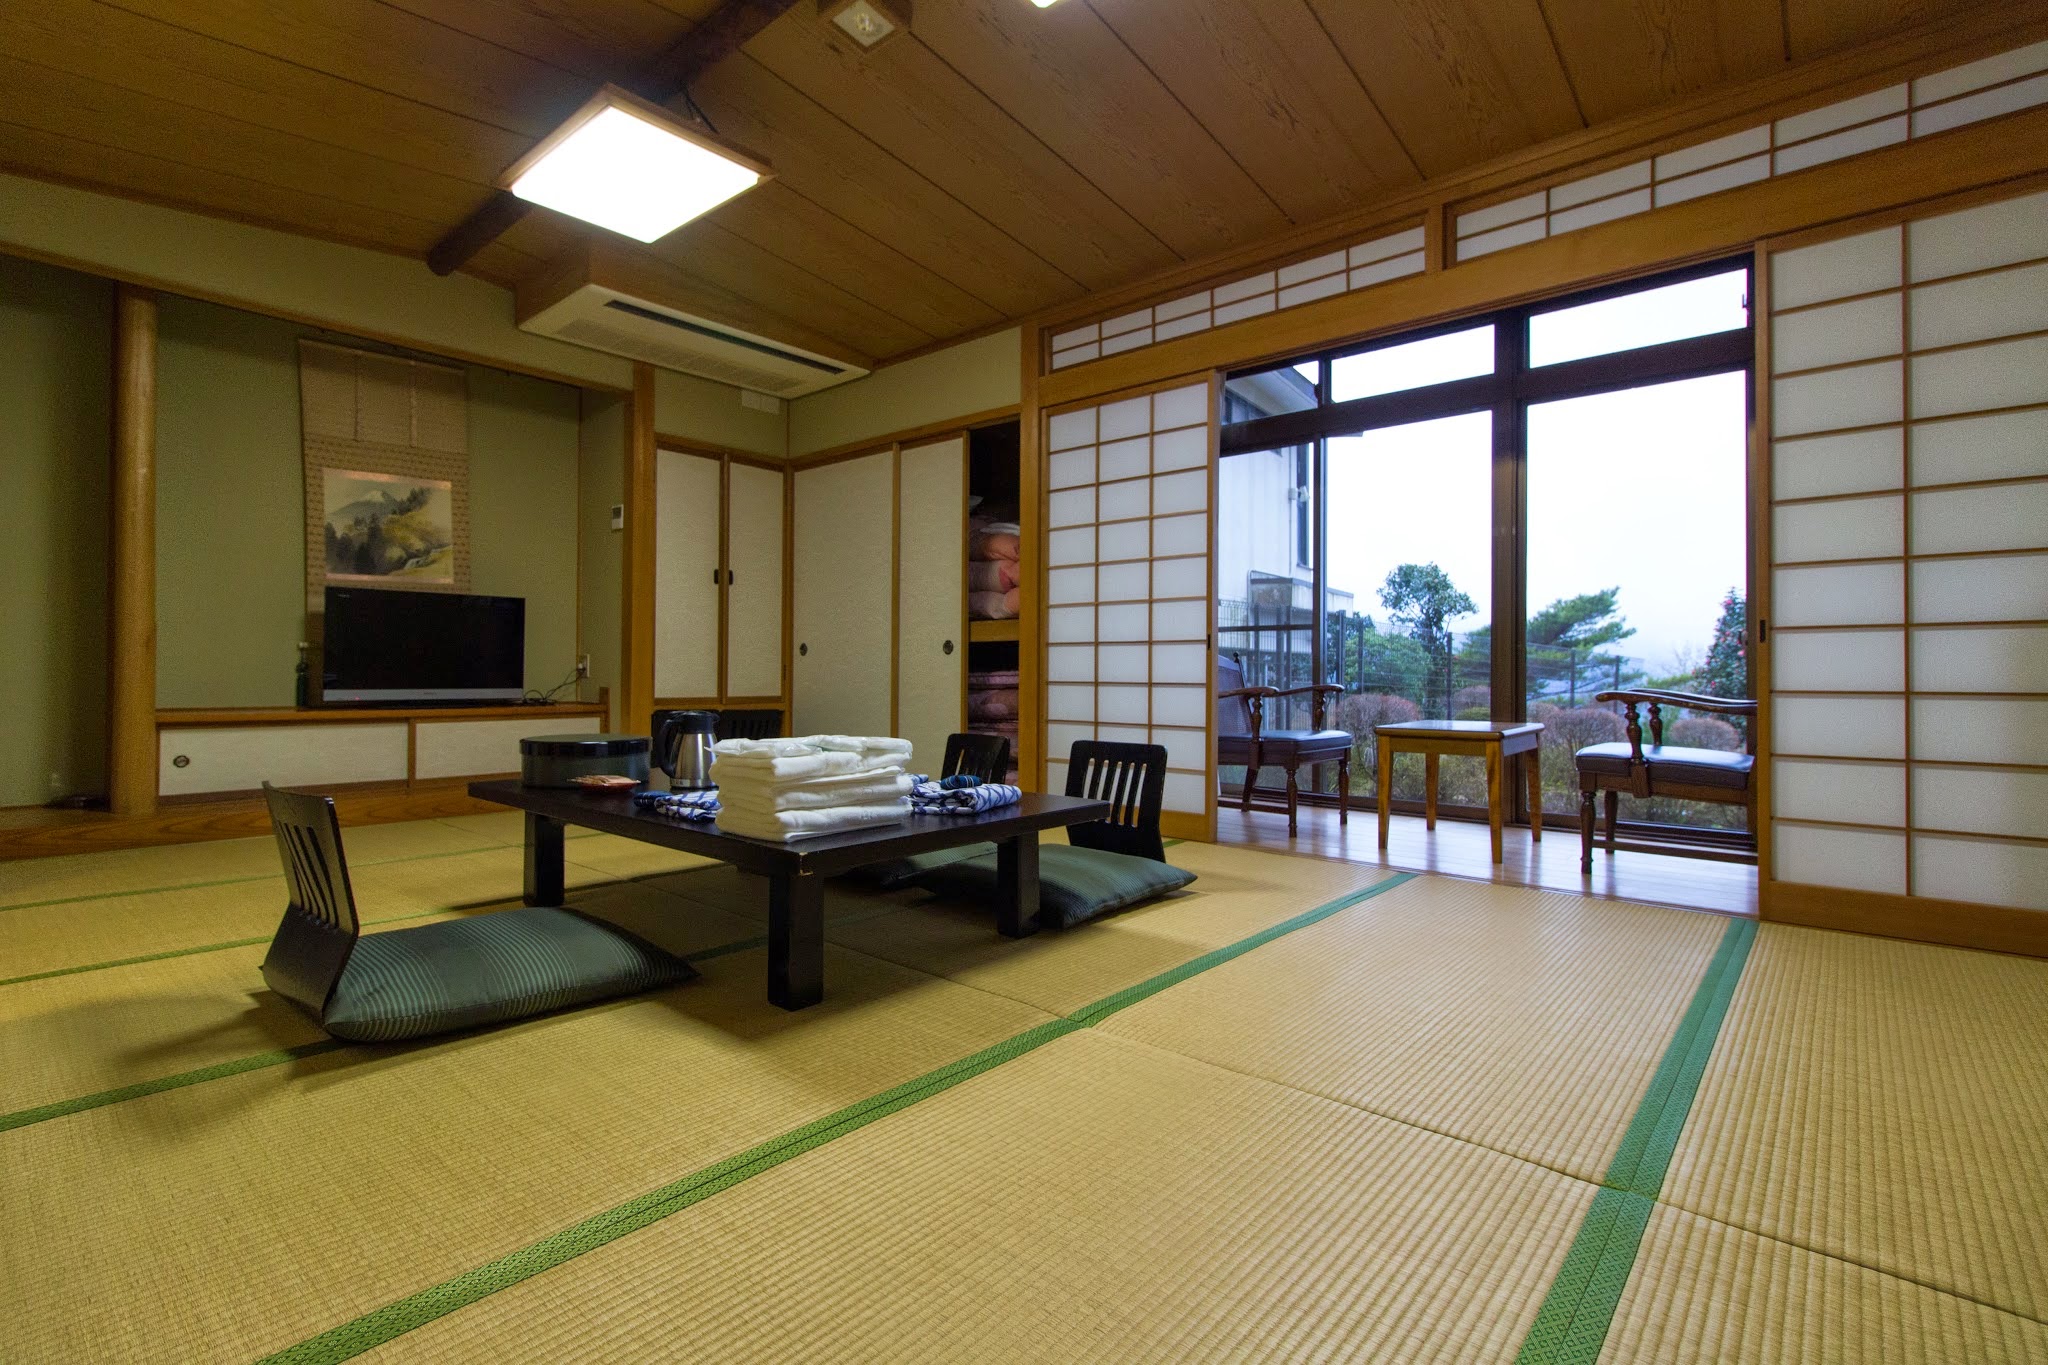
Tokyo
Suigetsu Hotel Ohgaisou (Japanican link)
Reason for choosing: 10 mins walk from Ueno station, and we chose Ueno for easier connection to Narita. This hotel had a lot of elderlies staying there though. Has indoor onsen and English speaking receptionist. Price is decent.
Access: From Ueno Station approximately 12 mins on foot from Shiobazu exit.
Miscellaneous Things
Luggage Forwarding
Luggage forwarding service are available in some hotels and convenience stores. The Japanese word is ‘takkyubin’ (ta-q-bin), there are a few companies providing this service. Just ask them, and provide your next hotel’s address, preferably in Japanese alphabet, and don’t forget the POSTAL CODE. The postal code is the most important thing, they spent one hour explaining to us why they can’t send our bags, just because we don’t have the postal code. Once we realized that they need postal code, I googled and yeah, they were able to send our bags just fine.
Internet
Probably the most important thing ever, to google your route, to translate, etc. Just google ‘japan wifi rental’ and I chose this website. You don’t need ultra high speeds, and the standard wifi is good and cheap enough. You can specify your pick up point, choose your arrival airport terminal and your wifi router will be dropped in the post office of that terminal. The package includes the wifi router, charger, instruction manual and a big envelope for returning. Just drop it in the post office anywhere in Japan to return it, although we returned mine in the same airport post office. This is Japanese efficiency and convenience at its best!

I hope you enjoy my travel documentary, and I hope that I had helped you in planning your own Japan trip. Don’t hesitate to ask me in the comments, or ping me in my social medias if you need further explanation. Thank you for reading and see you on my next trip!
Kris
1 comment